How Conditional Logic in WooCommerce Custom Checkout Fields Works for Your Store
If you’ve ever set up a WooCommerce store and thought, “I wish I could ask my customers one more question here,” or felt limited by the default checkout fields, you are definitely not alone. For a long time, the checkout page was rigid, where you could only take what WooCommerce provided.
As soon as you need to collect more specific information from customers, things get tricky. Some customers want to upload files, others need a specific note, and some fields should only appear when certain products are in the cart.
This gap could only be addressed with custom coding or hiring a developer, which is where a plugin like the WooCommerce checkout field editor becomes a big help. It lets store owners build checkout fields that make sense for both business and customers. Among all its features, conditional logic is the one that changes how checkout forms behave, making fields appear only when needed.
In this post, we’ll go step by step into how conditional logic works, explain how it lets you control fields, highlight additional features, and provide a short guide on installing and using the plugin on your store.
Why Conditional Logic Matters in Checkout Fields
Before diving into how conditional logic works, it helps to understand why it is so valuable. Imagine a store selling custom-engraved items. You may want to ask for the text the customer wants engraved, but that field should not appear for every purchase, especially if someone is buying regular items like socks.
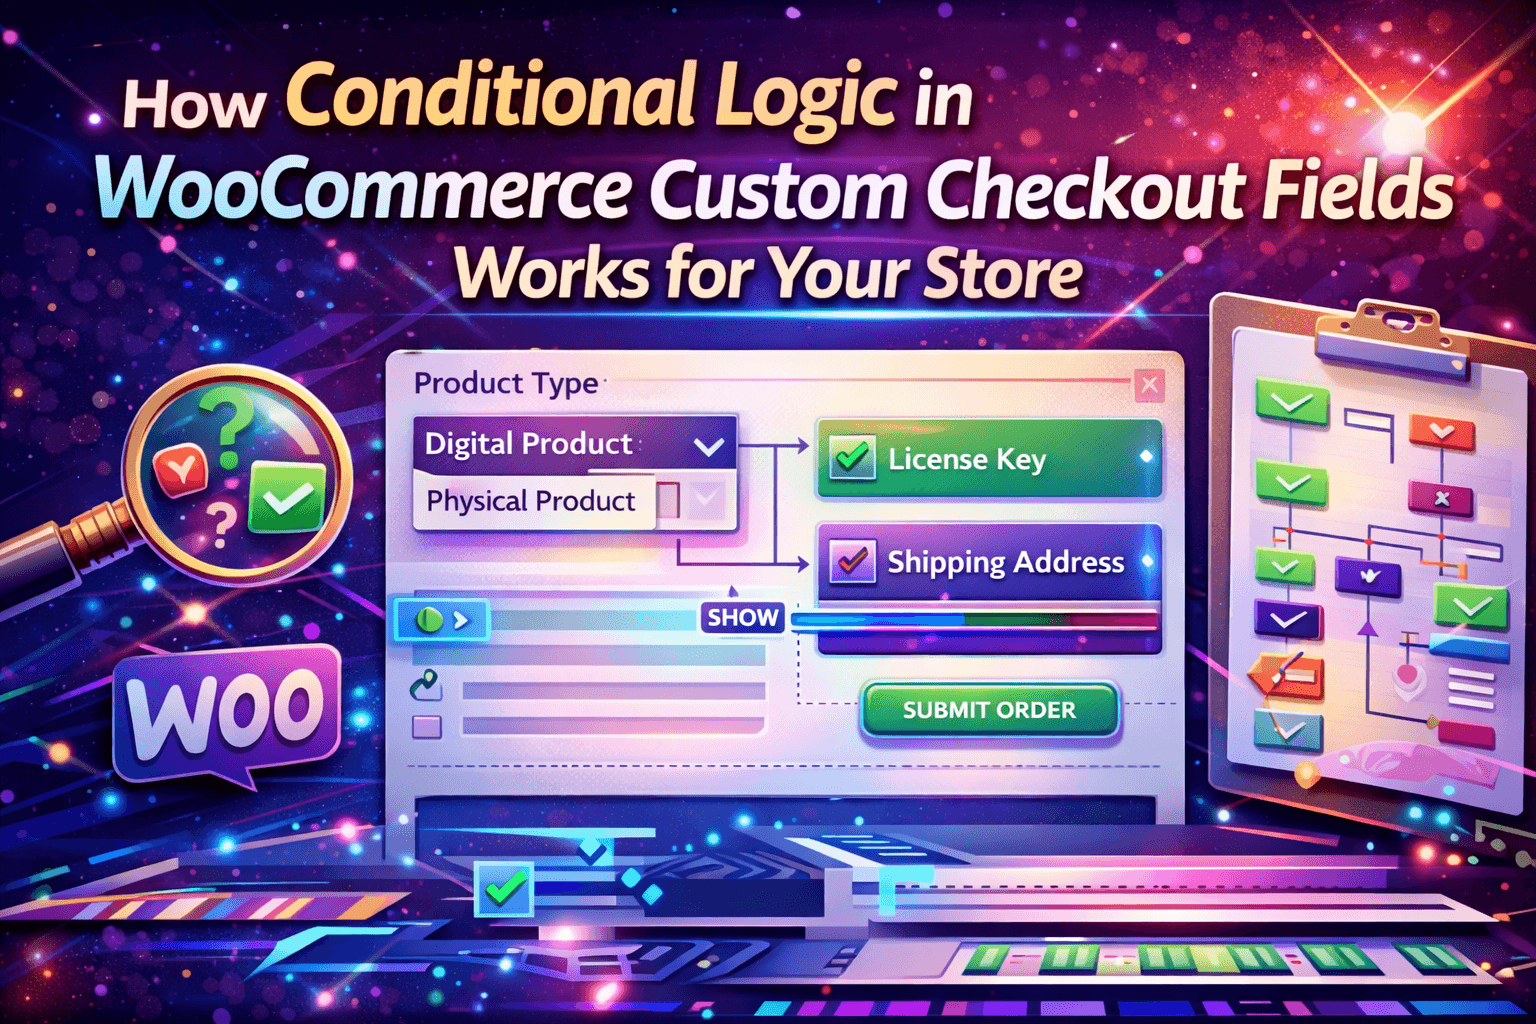
Conditional logic allows fields to show only when specific rules are met, for example, when a certain product is in the cart, or a customer selects a particular option. Default WooCommerce does not offer this; all fields are static unless you code them. The checkout field editor for WooCommerce plugin removes that limitation and lets you show only relevant fields to customers.
How Conditional Logic Works in the Checkout Field Editor
Conditional logic with this plugin is straightforward once you understand the structure. You create a field, set a condition based on product selection, category, or customer input, and the plugin shows or hides the field depending on whether the condition is met.
Within a single condition group, all rules use “AND”, meaning every rule must be true for the field to appear. Between multiple groups, the plugin uses “OR”, meaning if any group’s rules are met, the field appears.
This allows scenarios such as:
- Asking for delivery details only if a certain shipping method is selected
- Showing a gift message field only when a customer selects Yes in a previous checkbox
- Collecting a business tax ID only for users with a specific role
The Checkout Field Editor for WooCommerce creates a checkout experience that feels more responsive to the customer rather than a static list of fields.
Additional Features of the Plugin
Conditional logic is the headline feature, but the WooCommerce checkout field editor plugin has many other capabilities:
Multiple Field Types
Add up to 15 different field types, including text, dropdown, checkbox, date picker, color picker, and more, to capture a variety of customer information.
Edit Default Checkout Fields
Modify existing WooCommerce checkout fields, update labels and placeholders, reorder fields, or remove unnecessary ones to match your store requirements.
Assign Fields to Products or Categories
Show specific fields only for certain products or categories so that irrelevant questions never appear for customers.
User Role-Based Visibility
Control which fields are shown or hidden based on user roles, such as wholesale buyers, subscribers, or guest users.
Repeat Fields for Quantity
Automatically repeat a field based on product quantity so you collect information per item when needed.
Display Fields Across Checkout, Orders, and Emails
Show custom fields in order pages, invoice emails, and My Account sections to ensure both customers and store admins see the necessary information.
Installing the Plugin: A Quick Guide
Installing and starting with this plugin is simple and does not require coding knowledge:
- In your WordPress dashboard, go to Plugins, Add New, and search for “WooCommerce checkout field editor.”
- Click Install Now, then Activate once installation is complete
- Access the plugin settings under WooCommerce, Settings, Conditional Checkout Fields
- You’ll see sections for Billing, Shipping, and Additional Information, where you can create or edit fields
- To add a new field, click Add Field, select the type, set a name, and apply conditions if needed
- Save changes and test the checkout to confirm fields appear according to your rules
Conclusion
Conditional logic in checkout fields is not just a feature, it changes how customers interact with your store, making forms relevant and efficient without overwhelming them. The WooCommerce checkout field editor plugin gives you this capability along with many other features like multiple field types, user role visibility, product-specific fields, and repeated fields.
For store owners who want to collect accurate and necessary information from customers without custom coding, this plugin is often the first choice. It ensures that customers only see what matters to them and that you receive the details needed to process orders correctly, making checkout smoother for everyone.
About The Author